A dark scorch line along a freshly cut groove is one of the most common router complaints — and one of the most misunderstood. Router bit burning wood is usually treated as a speed problem: slow the router down and the burning should stop. In practice, slowing down can make it worse.
Burning is a heat problem, and heat comes from friction. When a router bit shears wood cleanly, it throws off chips, and those chips carry heat away from the cut. When the bit starts rubbing instead of cutting, that energy has nowhere to go. It stays at the cutting edge, the wood scorches, and the bit gets hotter still. Understanding that chain — rubbing, heat, scorch — is what makes the fix straightforward.
This article uses the JEEFOO WB Spur Straight Cutter (6.35 x 12.7) as its example: a spur straight cutter for accurate grooving, slotting, drilling-style routing, and edge work in solid wood, hardwood, plywood, MDF, and other suitable wood-based materials. The checks below apply to straight cutters generally. This article gives no universal speed, feed, or depth numbers; confirm settings against the tool documentation and the machine manual.
What a burn mark is actually telling you
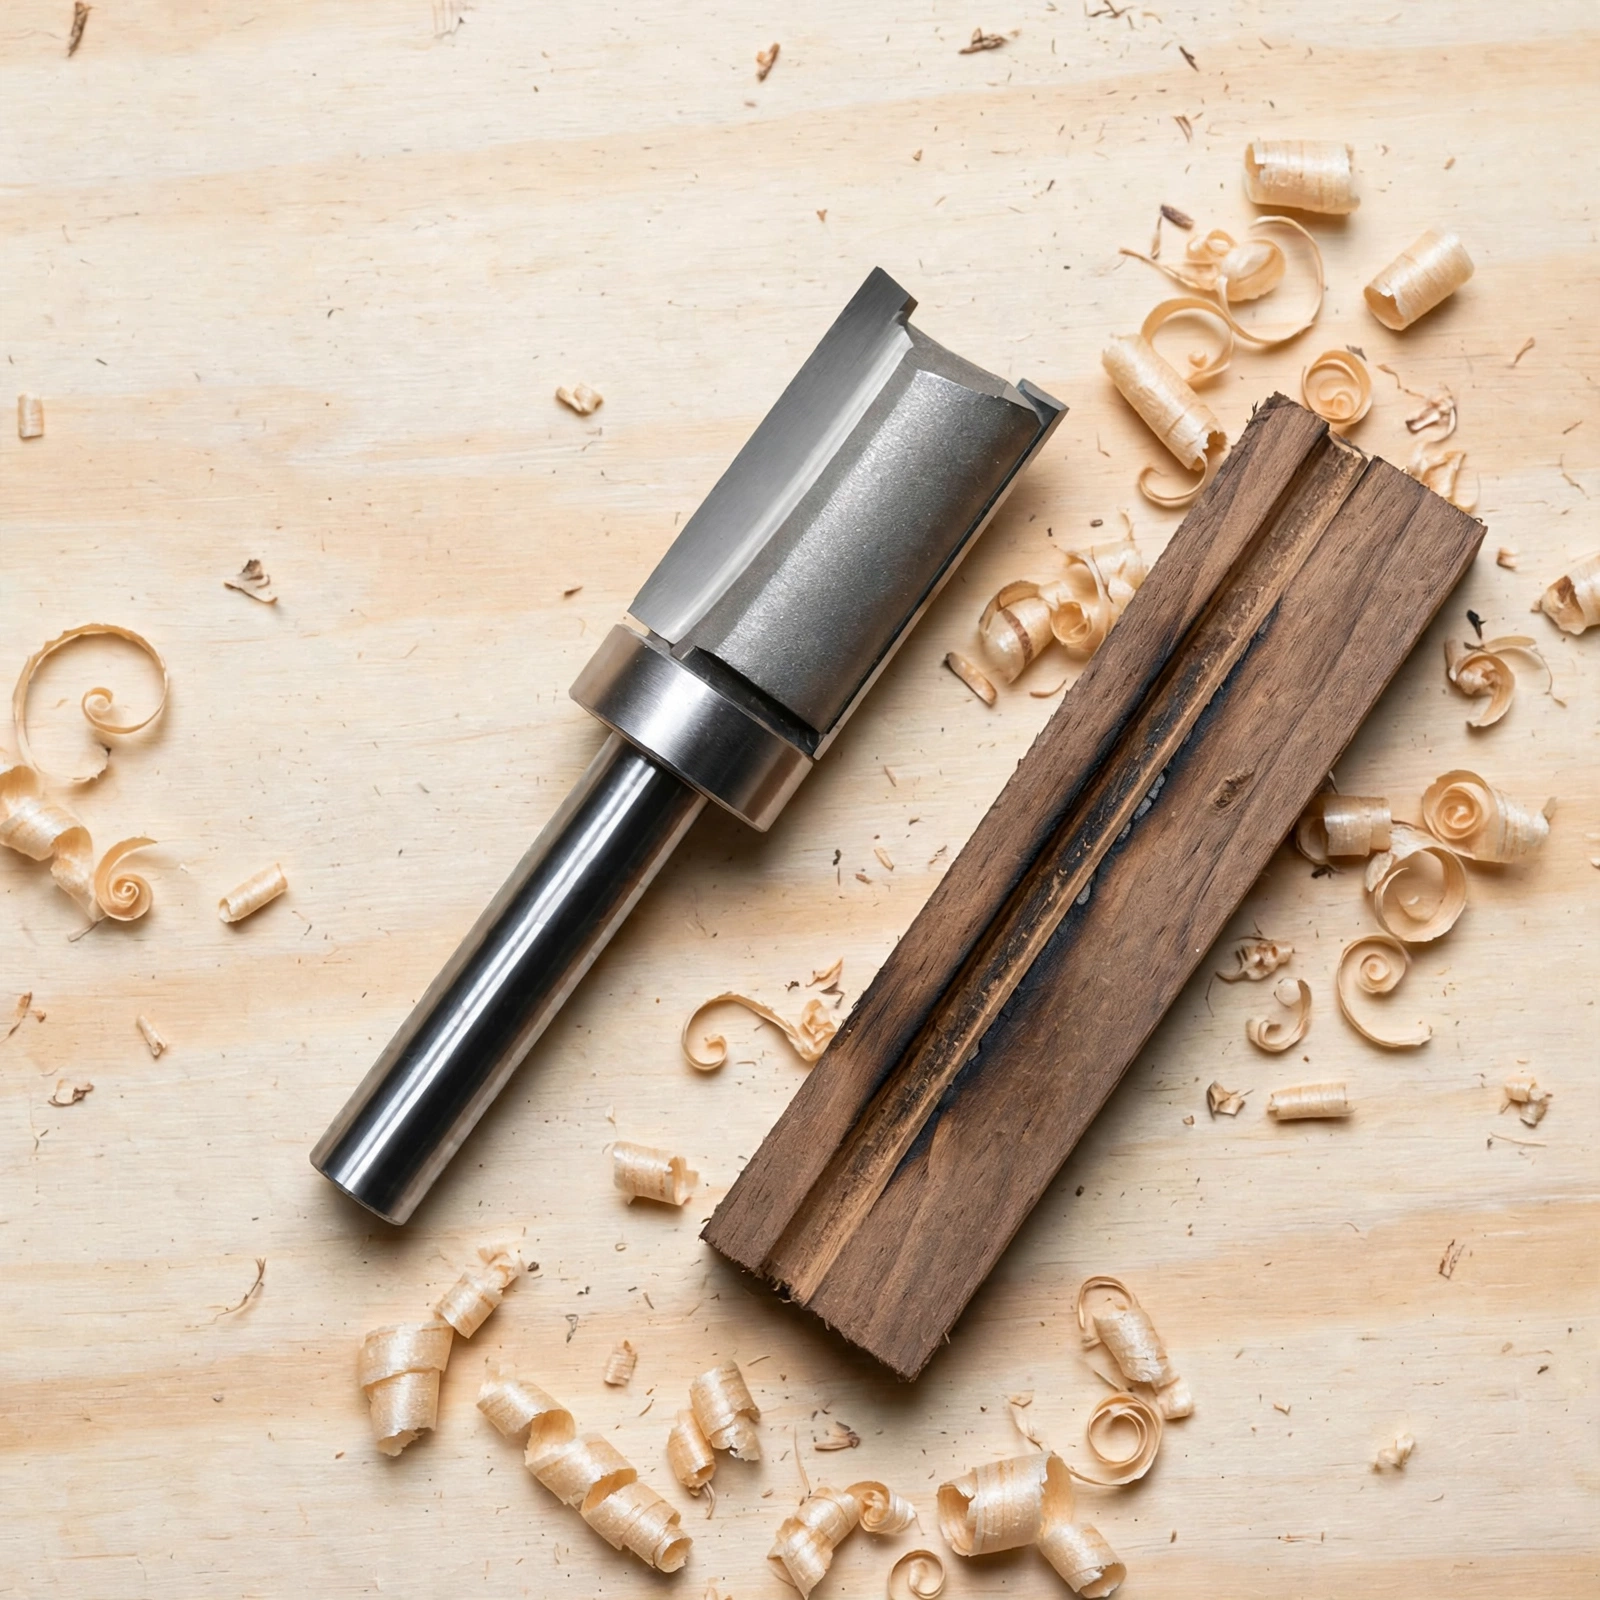
A burn mark is not a stain on the surface. It is wood fiber that has been heated until it chars, and it usually runs a little below the surface — which is why sanding often does not remove it completely.
Three observations help read the mark:
- Where it appears. Burning that follows the whole length of a groove points to the cut itself — the edge, the feed, or the depth. Burning in one spot usually means the bit paused there.
- What came out of the cut. Real chips mean the edge is shearing. Fine dust means the edge is rubbing and grinding, and dust does not carry heat away the way chips do.
- What it smells like. A scorched, resinous smell that appears while the setup is otherwise unchanged is an early warning, often before visible marks show.
The usual causes of router bit burning wood
Burning rarely has a single cause, but the list below covers most cases, roughly in the order to check them:
1. A dull cutting edge. This is the most common cause. A dull edge cannot shear fibers cleanly, so it grinds them instead. Grinding means friction, and friction means heat. If the same cut was clean last week and scorches now, the edge is the first suspect.
2. Feeding too slowly. This is the counterintuitive one. When the feed is too slow for the spindle speed, each cutting edge takes a smaller bite on every revolution. The edge contacts the wood more times while removing less material, so it rubs instead of cutting. More rubbing means more heat, and more heat means more burning. In this situation the fix is not to slow down further, but to increase the feed, reduce the spindle speed, or both — changed one at a time, and checked against a test cut. As ToolsToday explains, slowing down might make it worse.
3. Spindle speed too high for the bit size. The outside of a large-diameter bit travels much faster than the outside of a small one at the same RPM. A speed that suits a 6 mm straight cutter can be far too fast for a large profile bit. Match the speed to the bit diameter and the material, following the machine and tool documentation.
4. One deep pass. Taking the full depth in a single pass loads the cutting edge heavily and traps chips — and heat — in the groove. Splitting the depth into two or more passes leaves each pass less work to do and gives chips room to escape.
5. Resin and pitch buildup. Resinous woods such as pine and cherry leave sticky buildup on the cutting edge and the bit body. That layer changes the edge geometry, adds friction, and bakes on harder the hotter the bit gets. A bit that looks dull is sometimes only dirty — clean it before deciding it is worn.
6. Poor chip clearing. Chips packed into the groove insulate the cut and hold heat against the wood. Check that dust extraction is actually pulling chips out of the groove, not just off the surface.
7. Resinous or dense wood. Some species scorch more readily than others. Cherry and maple are dense and hold heat; pine is resinous. The same setup that runs clean in poplar can burn in cherry, so a species change is itself a reason to re-check the cut.
8. Pausing mid-cut. Stopping with the bit spinning in one place — even for a second — leaves a local burn mark. Keep the cut moving steadily from entry to exit.
Burn marks vs tear-out vs chatter
Not every dark or rough mark is burning, and the fix depends on telling them apart:
- Burning: dark brown or black discoloration, surface feels smooth but scorched. Cause is heat and friction.
- Tear-out: fibers pulled out of the surface, leaving a rough, ragged edge. Cause is the cutting direction against the grain, or an edge that is no longer shearing cleanly.
- Chatter: regular ripples or waves across the surface. Cause is vibration — the setup, the workholding, or the bit not being seated firmly.
A dull edge can cause all three at once, which is why the edge is always worth checking first.
Checks before the next cut
Work through these in order, and change one thing at a time so the result can be traced to the change:
- Inspect and clean the bit. Stop the machine and isolate the power before touching the bit. Remove it, clean off resin with a dedicated bit cleaner and a soft brass brush, and look for nicks or a worn edge. A sharp edge is a fine line that barely reflects light; a worn edge shows a bright band.
- Confirm the bit matches the job. For straight grooves and slots in wood-based panels, a straight cutter such as the WB Spur Straight Cutter (6.35 x 12.7) is the right shape; a profile bit is not a substitute for a grooving cut. Confirm the product drawing and machine compatibility before use.
- Split the depth. Take the groove in two or more passes instead of one full-depth pass.
- Keep the feed steady. Move at a consistent pace and do not stop mid-cut.
- Clear the chips. Confirm dust extraction is clearing the groove itself.
- Test on scrap. Run the same cut on an offcut of the same material and species before committing to the workpiece. See CNC Router Bit Testing: Build a Repeatable First-Piece Check for a repeatable first-piece check.
When the bit itself is the problem
If cleaning does not restore a clean cut, the edge is worn. Light honing with a diamond hone can help a slightly dull carbide edge, but a nicked or heavily worn edge should go to a professional sharpening service — or be replaced. After sharpening, check the cutting diameter: sharpening removes material, so the diameter is slightly smaller, and a groove cut with it will be slightly narrower.
Do not keep running a bit that burns on every pass. Each scorched pass adds heat to the edge, and a hot edge dulls faster. Replacing a worn bit is cheaper than reworking scorched parts.
Conclusion
Router bit burning wood is a friction problem, not a speed problem alone. Check the edge first, then the feed, then the depth per pass and chip clearing — in that order. Most burn marks disappear once the edge is actually cutting again instead of rubbing, and the habit of testing on scrap makes the cause visible before it reaches the workpiece.
Pre-cut checklist
| Check | What to look for | Action |
|---|---|---|
| Cutting edge | Bright wear band, nicks, resin buildup | Clean first; hone, sharpen, or replace if worn |
| Bit selection | Straight cutter for grooves and slots | Confirm WB 6.35 x 12.7 drawing and machine fit |
| Depth per pass | Full depth in one pass | Split into two or more passes |
| Feed | Too slow, hesitant, or pausing mid-cut | Steady, continuous feed; test on scrap |
| Chip clearing | Chips packed in the groove | Check dust extraction at the cut |
| Material | Resinous or dense species (cherry, maple, pine) | Re-check the cut when the species changes |
| Test cut | Same material and species as the workpiece | Confirm a clean groove before the real cut |
Sources and related products
- JEEFOO WB Spur Straight Cutter (6.35 x 12.7): a spur straight cutter for accurate grooving, slotting, drilling-style routing, and edge work in solid wood, hardwood, plywood, MDF, and other suitable wood-based materials. Confirm the product drawing and machine compatibility before use.
- Related articles on this site: “Spur Straight Cutters: Groove Boundary”, “CNC Router Bit Testing: Build a Repeatable First-Piece Check”, “V-Groove Router Bits: Match Angle to Lettering and Line Width”.
- External reference: ToolsToday, “Why Your CNC Router Bit Is Burning Wood (And Why Slowing Down Might Make It Worse)” — chip load, feed rate, and why slowing down can increase burning.
- Original illustration, not a company photograph or machining test; this article gives no universal speed, feed, or depth numbers — confirm settings against the tool documentation and the machine manual.